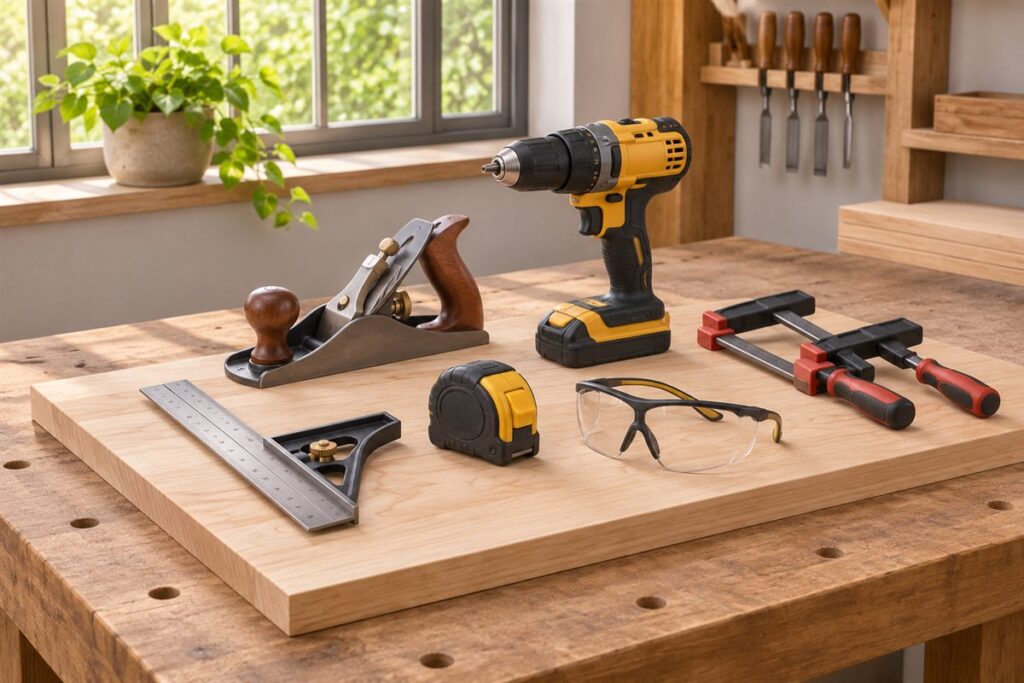
Every DIYer can get far with a modest set of hand tools that measure, cut, drive, grip and strike. These tools need no batteries or cords, work almost anywhere and tend to last for decades with basic care. Use the checklist below to see what you have and what is missing, then read on for a worked example, common situations, a troubleshooting table and upkeep advice.
Measuring and marking
- Tape measure: a locking tape with a clear scale in the units you use.
- Combination square: checks right angles and marks lines at a set depth.
- Spirit level: keeps shelves and frames straight.
- Pencil, marking knife and chalk line: for lines you can follow with a saw or chisel.
Cutting and shaping
- Hand saw: one crosscut saw for general wood cutting, and a small back saw for neat joints.
- Utility knife: with spare blades, for trimming and scoring.
- Chisel set: three or four sizes for notches, hinge recesses and cleaning joints.
- Block plane: trims edges and fits doors.
- Files and rasps: smooth and shape wood and metal.
- Hacksaw: for metal bars, pipes and bolts.
Driving, gripping and striking
| Tool | Use | Notes |
|---|---|---|
| Screwdriver set | Driving and removing screws | Match the tip to the screw head to avoid damage |
| Claw hammer | Nails and light prying | Medium weight suits most tasks |
| Mallet | Tapping chisels and joints | Soft face protects surfaces |
| Slip-joint and needle-nose pliers | Gripping, bending, cutting wire | Do not use on hardened bolts |
| Adjustable wrench | Nuts and bolts of varying size | Turn so force goes on the fixed jaw |
| Hex keys | Flat-pack furniture and fittings | Keep both metric and inch sets |
| Locking pliers | Hold work or stuck fasteners | Release lever carefully |
Support and care items
A pair of clamps or a small vise acts as a third hand. A stiff brush and cloths keep tools clean. Add safety glasses, work gloves and a dust mask for every job, and store sharp tools so edges are covered. Keep blades sharp, since dull tools need more force and slip more often. Follow any maker’s instructions and use each tool only for the job it was designed to do.
As a rule, buy the best you can for tools you will use weekly, such as the tape, level and screwdrivers. For tools you may use once a year, a simple version is enough. Look for comfortable handles, clear markings and solid joints where parts meet.
Worked Walkthrough: Fitting a Small Shelf
This example shows how the tools in the checklist work together. It assumes a lightweight shelf on a wall where you have confirmed the fixings suit the wall type. For a heavy load, or if you are unsure what is behind the wall, ask a qualified professional.
- Decide the shelf height and mark it with the pencil and tape measure. Use the level to draw a faint horizontal line across the wall.
- Check the wall for hidden services as far as you can, using a detector as a guide only, and avoid areas above switches and sockets.
- Mark bracket positions on the line. Measure from the same end of the line for both, then check with the level on the bracket.
- Prepare the fixing holes using the method the fixing maker describes. In soft wall board, that may mean specific anchors, and in masonry it may need a drill and plug.
- Drive the screws with a screwdriver that matches the head. Leave them slightly loose until both brackets are in place, then tighten evenly.
- If the shelf board needs trimming, mark it with the combination square, hold it in the clamp and cut it with the hand saw, keeping your free hand clear. Smooth the cut edge with a file or fine paper.
- Place the shelf, check it with the level and adjust. Add weight gradually and watch for movement.
Common Scenarios
- A first flat: a screwdriver set, tape measure, hammer, pliers, level and hex keys cover furniture assembly and small fixes.
- A creaking door: screwdrivers tighten loose hinges, and a block plane may trim an edge that rubs. Check the cause before removing material.
- A dripping outdoor tap: an adjustable wrench may help with tightening accessible fittings, but plumbing faults inside walls belong to a qualified plumber.
- A small woodwork project: a square, saw, chisel and clamps let you cut and join pieces accurately. Practise on scrap first.
- A bike or garden repair: hex keys, pliers and a wrench handle many everyday fixings, and a hacksaw trims metal where needed.
Mistakes to Avoid
- Using pliers as a hammer or wrench. They can damage fastener heads and the pliers themselves.
- Using a screwdriver as a chisel or pry bar. The tip can snap, and fragments can fly.
- Cutting toward your own hand. Clamp the work and keep your free hand behind the blade.
- Ignoring dull blades. A dull saw, chisel or knife needs more force and slips unpredictably.
- Skipping eye protection. Debris, wire ends and metal chips can all cause eye injuries.
Quick Troubleshooting
| Symptom | Likely cause | What to try |
|---|---|---|
| Screw head damaged | Wrong tip or sloppy fit | Match the tip type and size and press firmly while turning |
| Saw binds in the cut | Wood pinching the blade or a dull blade | Support the work so the cut stays open, and check the saw’s condition |
| Adjustable wrench slips | Jaws loose or wrong direction | Tighten the jaws on the nut and pull so force goes on the fixed jaw |
| Chisel crushes the wood | Dull edge or bad angle | Sharpen as the maker describes and cut with the grain where you can |
Care and Upkeep Over Time
Wipe tools after use, especially after damp work, and store them where moisture is low. A light film of oil on bare steel helps resist rust, following the maker’s guidance. Keep chisels and plane blades protected with guards, and keep saw teeth covered. Check handles for cracks and joints for looseness, and replace parts that are worn. Return each tool to its place after every job, and once a year go through the kit, adding what real projects have shown you need.
Glossary
- Crosscut saw
- A saw designed for cutting across the grain of wood.
- Back saw
- A saw with a stiffened spine for fine, accurate cuts.
- Combination square
- A ruler with a sliding head for checking angles and marking lines.
- Slip-joint pliers
- Pliers whose pivot can be moved to two positions for different jaw openings.
- Rasp
- A coarse tool for shaping wood.
- Vise
- A fixed clamp that holds work while you cut or shape it.
FAQ
Is it better to buy a set or individual tools?
Sets give variety, but individual tools let you choose better quality where you need it. Many DIYers do both.
Which hand tool do beginners most often overlook?
The level and the clamp. Both improve accuracy and give better results with less effort.
How many screwdrivers do I need?
A set with several sizes of cross-head and slotted tips, or a driver with interchangeable bits, covers most household screws. Add other drive types when your fasteners call for them.
Do I need metric and imperial tools?
That depends on what you work on. Keep sets that match your fasteners and furniture, and check the markings on wrenches and hex keys before use.
How do I keep my tools from rusting?
Keep them dry, wipe off moisture after use, and apply a light protective film as the maker advises. Store them away from damp walls and floors.
The Short Version
Collect measuring tools, a saw and chisels, a good set of drivers and pliers, and a couple of clamps. Keep them sharp and clean, and add specialist tools only when a project calls for them. Work carefully, and call a professional for structural or building-system jobs.