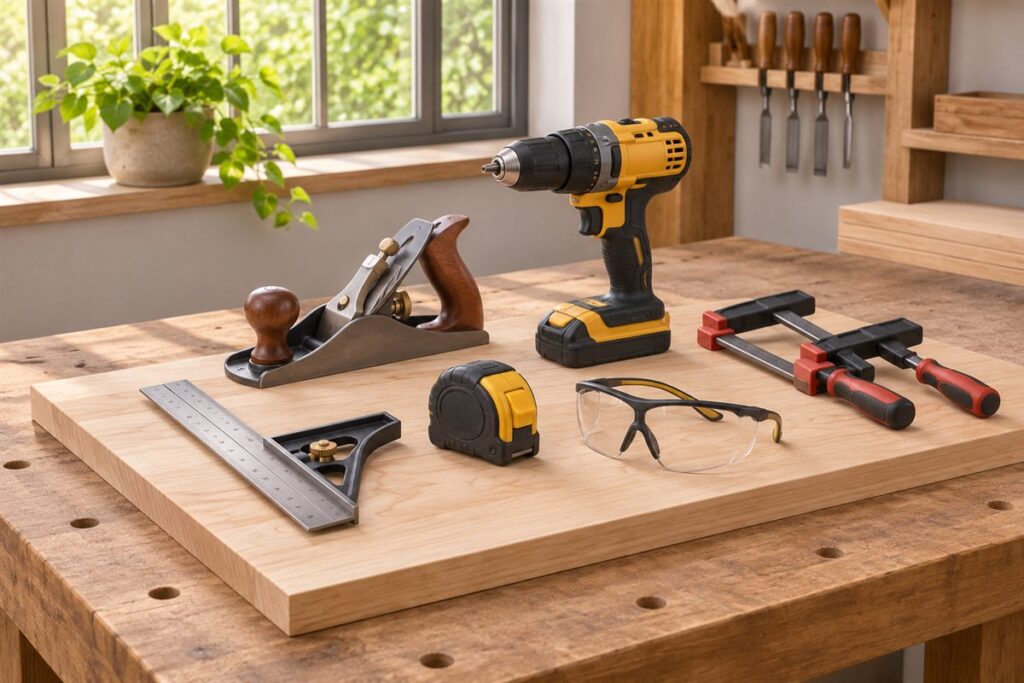
A pegboard turns bare wall space into visible tool storage, so you see what you own and put it back where it belongs. The right board depends on how heavy your tools are, which hooks you want and how well you can fix the board to the wall. Plan the layout before you drill anything.
Board Materials
Hardboard is the familiar choice and works well for lighter hand tools. Metal boards and slotted panels take heavier loads and resist damage from hooks. Plastic panels shrug off moisture, which helps in damp garages. Whatever you choose, check the maker’s stated load limit and mounting instructions.
- Hardboard: light, easy to cut, can sag or swell if wet.
- Metal: stronger and neat in appearance, with its own hook system.
- Plastic: moisture-tolerant, with various hole or slot patterns.
Hole Size and Hooks
Pegboard holes come in different sizes and spacings, and hooks made for one size may not fit another. Buy hooks that match your board, or check the maker’s guide before mixing systems. Locking hooks and hooks with a bend or loop hold tools more firmly than plain straight pegs.
| Item | Why it matters | What to check |
|---|---|---|
| Hole spacing | Controls hook compatibility | Hole diameter and distance |
| Hook style | Holds different tool shapes | Straight, loop, angled, bin holder |
| Board thickness | Affects strength | Maker’s load guidance |
| Spacers | Leave room behind for hooks | Furring strips or standoffs |
Mounting and Layout Steps
- Find the wall studs with a stud finder and mark them lightly with a pencil.
- Fix wood strips to the studs so the board sits off the wall and hooks can go through.
- Check the strips are level before attaching the board.
- Fasten the board with screws and washers that suit your wall and the board material.
- Lay the tools on the floor or bench, arrange them as you want them on the board, and trace outlines if you like.
- Place heavier tools low and near the centre, and everyday tools at easy arm height.
Keep sharp edges pointed away from walkways and heads. Read the maker’s instructions for any weight limits, and check your local rules for fixing into walls, since services may run behind them.
Measuring Your Wall and Planning Capacity
Before you compare boards, measure the wall you plan to use. Note its width and height, the position of doors, windows, outlets, switches and any shelving or workbench that will sit in front of it. Mark the height of your bench top, since the lowest tools should clear it, and the height of the highest tool you can reach comfortably without a step. This gives you the real usable area, which is usually smaller than the total wall.
Then estimate what you need to hang. Lay your tools out on the floor or bench and group them by type: hand tools, cutting tools, measuring tools, clamps and cords. Add some space for new tools, because a pegboard filled on day one leaves no room for growth. A common mistake is to buy panels to fit the tools you own now and then run out of space within a season.
Panel sizes vary, and so do thicknesses. Check the dimensions in the listing and compare them to your wall, considering that you may need several panels to cover a wide area. Make sure that adjoining panels line up, with matching hole spacing and edges, so that the pattern continues across the join. Think also about the weight of the combined load, since the total tool weight on the wall can be considerable. Spread the load across the studs, not just a few fixings, and check the maker’s guidance on load limits for the board and its hooks.
Pegboard Systems Compared
Not all tool-wall systems work the same way, and the differences affect what you can hang and how securely. Traditional perforated panels have a regular grid of round holes that accept simple hooks. They are inexpensive and flexible, with a wide range of hooks. Their weakness is that hooks can pull out or tilt under load, and the thin panels can sag or break around the holes with heavy items.
Slotted panels have horizontal grooves that accept hooks and shelves with a locking tab or interlocking shape. They tend to hold items more firmly and let you slide fittings along the slot for fine placement. Metal grid and rail systems use mounted rails or a metal lattice, and their accessories lock into place, which suits heavier tools. They often cost more, and the accessories are specific to the system.
- Perforated hardboard: low cost, many hook styles, best for light and medium tools.
- Slotted panels: firmer hold, accessories lock in, accessories are system-specific.
- Metal panels or rails: strongest, a neat look, higher cost and specific parts.
- Rail and bracket systems: flexible for heavy items and shelves.
Check whether the accessories you want are available for the system, and whether you can buy more later. A system with limited accessories can frustrate you when you need a particular holder. Avoid mixing parts from different systems unless the maker says they are compatible.
Hook Choices and Tool Holders
The hooks and holders do the real work of keeping tools in place, so choose them with the same care as the board. Straight hooks suit light items with a hole or a loop, and angled or curved hooks hold items like pliers and wrenches more securely. Double-prong hooks spread the load across two holes and resist twisting. Loop hooks can hold cords, tape measures and similar items.
Beyond hooks, a range of holders covers different shapes. Bins and cups hold small items such as screws, pencils and drill bits. Shelves and brackets carry boxes and tools with a base. Holders for screwdrivers, saws, hammers, spray cans and power tool bodies keep items upright and visible. Magnetic strips can hold metal hand tools along an edge, though they should be fixed in line with the maker’s instructions and tested with your heaviest tool.
- Match the hook design to the weight and shape of the tool.
- Use holders with a lip or lock for tools that could slide off.
- Put small loose parts in lidded or secured bins so they do not spill.
- Check the hole diameter and spacing before buying any hook.
Keep a few spare hooks for future changes. Buying a mixed assortment is convenient, but check what is in the pack, because some contain many hooks of a style you will rarely need. Add specific holders as you see where tools tend to end up.
Layout Ideas That Keep Things Findable
A good layout makes tools quick to find and easy to put back. Arrange items by task or by how often you use them. Group measuring and marking tools together, cutting tools together, and driving and gripping tools together. Put the most frequently used items in the zone between waist and shoulder height, where you can reach without bending or stretching. Heavier items go lower and closer to the center, and rarely used or light items go higher or to the sides.
Think about the order in which you work. If you often measure, mark and cut in sequence, keep those tools in a similar order along the wall. Place tools used together near each other. Keep sharp tools away from walkways, and point edges downward or away from where people pass. Leave a small gap between tools so you can grasp each one without disturbing its neighbor.
Labeling helps. Outlines drawn or traced around each tool show where it goes and make missing tools obvious. Use removable markers if you plan to change the layout. Some people use color coding or labels on bins for fasteners. Before fixing any hooks in place, lay out the plan on the floor or place the tools on the board temporarily, to check spacing.
Review your layout after a few weeks. If you keep reaching for a tool that is stored awkwardly, move it. A pegboard is flexible, and adjusting it is part of getting it right.
Safety, Moisture and Long-Term Care
A loaded pegboard is heavy, so mounting safely matters. Fix it to studs or solid framing with fasteners suited to the wall and the board, and check that the wall itself is sound. Avoid hanging heavy items above the places where people sit or walk, and avoid placing sharp tools at head or face height. Before drilling into walls, check for pipes and electrical wiring using appropriate methods, and follow local rules.
Moisture can affect boards, especially hardboard, which can swell, warp or soften in damp places. If your garage or shed is damp, consider a moisture-resistant material such as metal or plastic, and keep the board off the wall slightly to allow air to circulate. Wipe tools dry before hanging them, because damp tools will rust and may stain the board.
Check the board periodically. Look for sagging, enlarged holes, loose fixings and bent hooks. Replace damaged hooks and tighten fasteners. If the holes around a hook have widened, move the hook to a fresh position or add a secondary support. Weight on one hook should never exceed the maker’s limit.
Keep the area below the pegboard tidy so that dropped tools do not create a hazard. In homes with children, keep dangerous tools out of reach or in a locked cabinet. If the wall is in a place subject to impacts, such as behind a vehicle, consider protection. A well-planned and maintained pegboard can last for many years.
FAQ
Can a pegboard hold power tools?
Some boards can, using strong hooks and bracket systems. Check the load limits from the maker and fix the board properly into framing.
How do I stop hooks from falling out?
Use locking hooks, or a small clip, tie or tape on plain pegs. A light tap in a sturdy board also helps keep hooks steady.
How thick should a pegboard be?
Thicker boards are generally stronger, but thickness alone does not decide load capacity. Check the maker's stated limits, and make sure the hooks fit the hole size and board thickness.
Can I paint a pegboard?
Many people do, to improve appearance or protect hardboard. Check that paint will not clog the holes, and let it dry fully before hanging tools.
Do I need to leave a gap behind the board?
Yes, usually. Spacers or furring strips create room for hooks to pass through the holes. The gap also allows air to circulate behind the board.
What is the best way to hang heavy power tools?
Use sturdy brackets or shelves rated for the weight, mounted to framing. Do not rely on plain hooks, and check the maker's limits.
Can I mix hooks from different brands?
Only if the hole size, spacing and fitting style match. Check the maker's guidance, as mismatched hooks can slip or damage the board.
How do I stop tools from swinging or falling?
Choose hooks with a lip or lock, use holders that cradle the tool, and place heavy items low. Check the fit periodically.
Is a pegboard better than a cabinet?
They do different jobs. A pegboard keeps tools visible and quick to reach, while a cabinet protects them from dust and keeps them out of sight. Many workshops use both.
The Short Version
Choose a board material that matches your tool weight, match hooks to the hole pattern and fix it solidly to framing. Plan the layout first, and follow the maker’s load guidance.