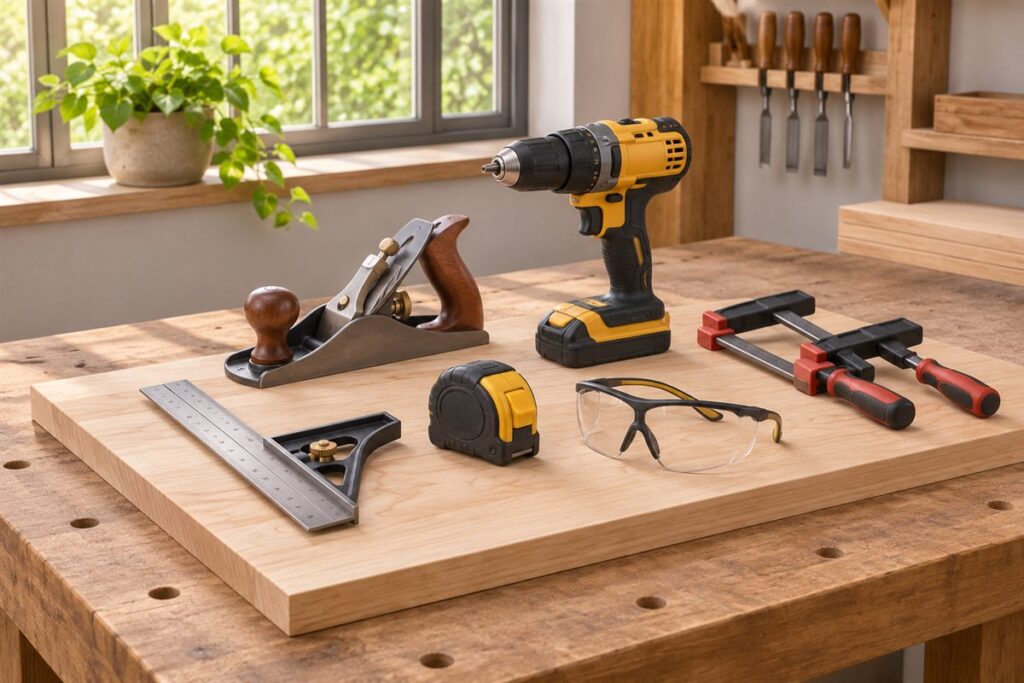
Clamps are the extra pair of hands in a workshop, and the best choice depends on how wide your work is and how much pressure it needs. A small mix of quick-grip bar clamps, a few spring clamps and a couple of C-clamps covers most home projects. Buy more only when a real job calls for it.
Know the main clamp families
Each style does one thing particularly well, so it helps to know what you are asking of it.
- Quick-grip bar clamps: one-hand operation, good for holding parts while you drive screws or wait for glue.
- Parallel clamps: wide, flat jaws that keep panels square, popular for cabinet and tabletop glue-ups.
- Pipe clamps: use a length of pipe as the bar, so the reach is as long as the pipe you fit.
- C-clamps: strong and compact, suited to metal, benches and fixed setups.
- Spring clamps: light pressure, ideal for small trim, templates and temporary holds.
Sizing: reach, throat and jaw face
Reach is the distance between the jaws when fully open. Throat depth is how far the clamp can reach in from an edge. Jaw faces are the pads that touch your work. Wide faces spread the load, while small hard faces can dent soft wood.
A handy rule is to measure the widest piece you glue or hold, then choose a clamp that opens a little wider than that. Keep scrap wood pads handy to protect surfaces.
Matching the clamp to the job
| Job | Suggested style | Notes |
|---|---|---|
| Gluing boards edge to edge | Parallel or pipe clamps | Alternate clamps above and below to resist bowing |
| Holding a jig to a bench | C-clamp or quick-grip | Keep clamp heads clear of the cutting path |
| Small trim or veneer | Spring clamps | Light pressure only |
| Metal fitting | C-clamp or locking pliers | Follow the maker’s heat guidance |
Using clamps well
- Dry-fit the parts with clamps before adding any glue.
- Place pads under the jaws on finished surfaces.
- Tighten gradually and evenly instead of cranking one clamp hard.
- Wipe squeeze-out soon after tightening, then leave the work for the time the glue maker advises.
Over-tightening can twist frames or squeeze glue out of a joint, leaving it weak. Snug and even is the goal.
Clamping Pressure and How Much Is Enough
Different clamps apply force in different ways, and more pressure is not always better. For glue joints, the aim is firm, even contact between surfaces while the adhesive sets, not maximum squeeze. A joint that is clamped too hard can push most of the glue out, leaving a starved joint that holds poorly. It can also bow thin panels or twist frames out of square. A joint that is snug, shows a thin bead of squeeze-out and closes without gaps is usually where you want to be, though the glue maker’s guidance takes priority.
For holding work in place while you cut, drill or drive screws, the priority is that the piece cannot move. Here a stiff clamp with a solid grip is useful, and a quick-grip type may be enough for light tasks. For metal fitting or welding preparation, a C-clamp or locking pliers can hold parts firmly, but you should follow the maker’s heat and use notes. Soft materials need pads to spread the pressure, while hard materials can take smaller jaws.
- Spring clamps offer light pressure and are quick, suited to delicate trim.
- Quick-grip bar clamps give moderate pressure and fast one-hand operation.
- Parallel clamps give strong, even pressure with square faces.
- C-clamps and pipe clamps can give high pressure when needed, so use them with care.
Tighten in stages. Bring all clamps to light contact, check alignment, then add pressure gradually, alternating among them. Do this before the glue begins to set, so you have time to adjust. A dry run without glue shows whether you have enough clamps and whether anything gets in the way.
Specialty Clamps Worth Knowing About
Beyond the common types, several specialty clamps solve problems that general-purpose ones handle awkwardly. Corner clamps hold two pieces at ninety degrees, which makes assembling frames, boxes and cabinets much easier. Band or strap clamps wrap around irregular shapes such as chairs, round frames and hexagonal items, spreading pressure evenly around the outline. Edge clamps hold trim or edging against the side of a board while you glue or nail. Hand screws, with wide wooden jaws, spread pressure over large areas and are gentle on surfaces.
Toggle clamps, which are often fixed to a bench or jig, hold work quickly with a lever action. They are valuable for repetitive tasks such as drilling the same part repeatedly. Bench vises are a different category but serve a similar need to hold work firmly. Locking pliers act as a small clamp for metal, and they can reach places a larger clamp cannot. Some people also use workbench dogs and holdfasts to keep boards in place on a bench.
- Corner clamp: useful for frames, boxes and cabinets.
- Band clamp: for round, curved or multi-sided assemblies.
- Edge clamp: for banding and trim on board edges.
- Hand screw: broad, gentle jaws for wood.
- Toggle clamp: fast, repeatable holding in jigs and fixtures.
You do not need all of them. Buy a specialty clamp when a specific job keeps frustrating you, and check the size range on the listing against the work you do. A single good corner clamp can save more time than a dozen extra bar clamps.
Build Quality, Materials and Features
When comparing clamps, look at how they are built. The bar should be rigid enough that it does not flex noticeably under load. A bar that bends allows the jaws to tilt, which spreads the pressure unevenly and can pull joints out of line. The screw or trigger mechanism should operate smoothly and hold its position without slipping. The jaws should line up with one another when closed, and the faces should be flat and clean.
Materials vary. Steel bars are strong and common. Aluminum can reduce weight, and some bars are coated to resist glue, since dried adhesive can make clamps stick or leave marks on wood. Cast jaws are strong but can chip if dropped, while plastic faces protect surfaces. Handles come in plastic, wood or rubberized grips, and bigger handles make it easier to apply moderate pressure without fatigue. Check whether the clamp can be reset quickly, as sliding heads that lock in position save time.
- Check the bar for straightness and for any sign of wobble in the sliding head.
- Test the mechanism for smooth action and positive locking.
- Look at the jaw faces for alignment and a protective pad.
- Check whether pads are replaceable, since they wear and get glued up over time.
- Consider the weight, because a heavy clamp is tiring when you need many.
Rubbing a small amount of wax or a release agent on the bars, as the maker suggests, helps keep glue from sticking. Wipe off glue before it hardens, and clean the threads so they turn easily.
Building a Clamp Collection Over Time
Few workshops start with a complete clamp rack, and that is sensible. A good approach is to buy based on the next project and gradually build a mix. Start with a handful of medium-size clamps that can cope with most household tasks, then add longer ones when you begin gluing wider panels. Keep a few small clamps for fine work. If you find yourself constantly wishing for one more, that is a sign you should add a few clamps in the size you reach for most often.
Think about the typical sizes of your projects. Shelves, small cabinets and picture frames need clamps with a reach of moderate span, while tabletops and doors need longer ones. If you work with metal or on a bench, add a few C-clamps. Pipe clamps are a cost-effective way to add long reach if you can use lengths of pipe, though you must check that the pipe is of the size and strength the fittings require.
- Match clamp numbers to the number of joints you glue at a time.
- Keep pairs of matching clamps for symmetrical pressure.
- Store clamps where they can be seen and reached, such as a wall rack or cart.
- Label or mark the reach on each clamp if the sizes are hard to tell apart.
Spreading your purchases lets you learn which styles you prefer. You may find that you love parallel clamps for panels but find them heavy for general use, or that quick-grip types handle most of your needs. Pay attention to how your habits develop and let them guide the next purchase.
Budget Tiers, Questions to Ask and When to Replace Clamps
Clamps are sold at a range of price levels, and the differences matter most in the amount of pressure they can deliver without flexing and in how long they last. Entry-level clamps suit light tasks and occasional use but may flex or slip under strong pressure. Mid-range clamps usually improve bar rigidity, mechanism smoothness and jaw design. Higher-end clamps, designed for frequent use, tend to have precise parallel faces, strong screws and replaceable parts. Choose according to how critical the work is, and remember that for important glue-ups, a few good clamps beat many poor ones.
Questions to ask before buying:
- What is the maximum opening and the throat depth, and do they suit my projects?
- Is the pressure rating described, and what does it mean in practice?
- Are the jaw faces flat and padded, or do I need to add pads?
- Can I operate it with one hand if I need that?
- Are replacement parts such as pads and handles available?
Signs that it is time to replace a clamp include a bent bar, a screw with stripped or damaged threads, jaws that no longer line up, a mechanism that slips under pressure, cracked handles, and heavy rust or glue buildup that cannot be removed. A clamp that slips can release suddenly and cause injuries or spoil work, so retire it. Do not use a bent or cracked clamp on critical joints, and follow the maker’s guidance on safe working loads.
FAQ
How many clamps do I need to begin with?
Four medium bar clamps, two C-clamps and a few spring clamps handle most household work. Add more as projects grow.
Can I use clamps to hold work for power tool cuts?
Yes, but keep clamps well away from the blade or bit path and follow your tool maker’s manual and safety instructions.
Can I over-tighten clamps on a glue joint?
Yes. Too much force can squeeze out most of the glue and bow or twist the work. Aim for a snug closing joint with a thin bead of squeeze-out, and follow the glue maker's advice.
What size clamps should I buy first?
Choose clamps that open slightly wider than your widest typical workpiece. Medium sizes cover most household projects, and longer ones can be added later.
Why do clamps leave marks on wood?
Hard jaw faces can dent soft wood, and glue or iron-based residue can stain it. Use pads, wipe off glue promptly and keep clamp faces clean.
Are pipe clamps better than bar clamps?
Pipe clamps give long reach for the cost of the pipe, while bar clamps are more convenient and ready to use. The choice depends on the length you need and how much setup you prefer.
What is a corner clamp for?
It holds two pieces at a right angle while you glue or fasten them. It is useful for frames, boxes and cabinets.
How do I stop glue from sticking to clamps?
Wipe off squeeze-out before it hardens, and use wax or the release method the clamp maker suggests. Pads or tape between the clamp and the glue line also help.
Is it safe to use clamps near saw blades?
Keep clamps well clear of the cutting path and follow the tool manual. Position them so that an accidental contact with the blade or bit is not possible.
The Short Version
Choose clamps by reach, throat depth and jaw face, and match the style to the task. A small mixed set serves most home jobs. Use even, moderate pressure and protect your surfaces with scrap pads.