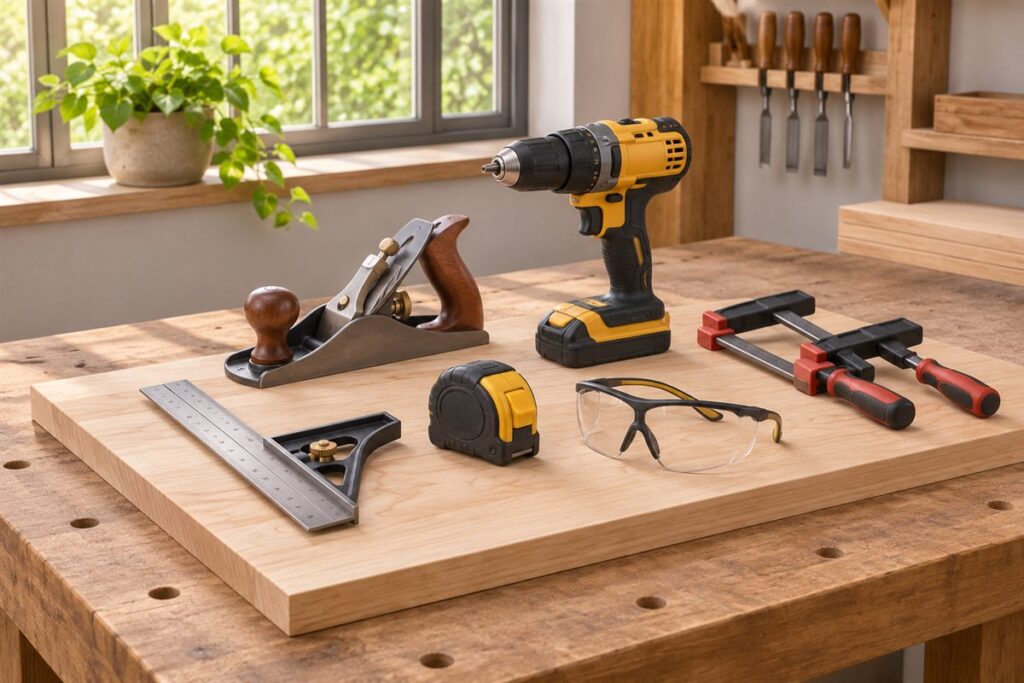
You can organize a garage workshop in a weekend by emptying the space, sorting everything into groups and giving each group a fixed home. The goal is simple: find any tool in under a minute and keep the floor clear for work. Here is a step-by-step approach that suits one-car and two-car garages alike.
Day one: clear and sort
- Pull everything out onto the driveway or one side of the garage, weather permitting.
- Sweep the floor and wipe down shelves and the bench.
- Make three piles: keep, give away or recycle, and dispose of through a proper local service.
- Group the keepers by use: measuring, cutting, fastening, finishing, garden and car care.
Be firm here. Duplicate tools, broken items and half-empty tins of unknown liquids only take up space. Follow local rules for old chemicals, fuel and batteries, and read each product label before moving or storing it.
Plan the zones
Think of the garage as a few small work areas instead of one large pile. Place the zones where they make sense for movement and light.
- Bench zone: near the best light and an electrical outlet. Hand tools and fasteners live within arm’s reach.
- Power tool zone: a shelf or cabinet for corded tools, chargers and accessories, away from damp walls.
- Long-item zone: a wall rack or ceiling hooks for ladders, lumber and hoses.
- Bulk storage zone: high shelves with labeled bins for seasonal things.
Storage that works
| Item | Where it goes | Tip |
|---|---|---|
| Hand tools | Pegboard or wall rail above the bench | Trace outlines so gaps show what is missing |
| Screws and small parts | Clear lidded bins or drawers | Label the front and the lid |
| Power tools | Closed shelf or cabinet | Keep batteries indoors if the garage gets very hot or cold |
| Ladders and lumber | Wall brackets or overhead rack | Fix hardware into studs or solid framing |
Day two: set up and maintain
Install the heavy racks first, then shelves, then pegboard. Put the most-used items at chest height, and the least-used on the highest or lowest shelf. Keep a clear walkway of at least a few feet on the main path so you never step over things.
Finish with a ten-minute reset after every project. Return tools to their places, sweep up dust and check that cords are coiled loosely. A small habit does more than a big annual clean.
Measuring and Planning the Layout
Before you buy a single shelf or hook, spend time on paper. Measure the garage floor, wall lengths, ceiling height and the position of doors, windows, outlets, light fixtures and the garage door tracks. Note any obstacles such as water heaters, electrical panels, furnace units and support posts, which need clear access and, in many places, a required clearance under local rules. Sketch the room to scale on graph paper or use a simple drawing tool, and mark where cars, bikes and large items need to live. Plan around what must stay, then fit the workshop into the remaining space.
Consider how you move while working. A common approach is to arrange stations in a logical sequence: lumber storage near the cutting area, cutting near assembly, assembly near finishing. The work triangle used in kitchens has a parallel in the shop, where frequently used items sit within a short walk of one another. Leave clear walkways, and keep large machines where you can feed long material through without hitting walls. Think about light as well, since a shadowy corner is a poor place for detailed work.
- Measure the room and mark fixed obstacles and clearances.
- Decide whether a vehicle must fit, and where its doors open.
- Place the main bench where light and power are best.
- Leave clear paths between zones and exits.
- Plan for growth by keeping some wall or shelf space unassigned.
Check local rules and your home insurer’s guidance on fire safety, particularly if you use fuel, finishing products or heating equipment in the garage. Keep access to exits and utility panels clear at all times.
Lighting, Power and Air Quality
A well-organized shop still frustrates you if the light is poor or the outlets are in the wrong place. Many garages come with a single bulb in the center, which casts shadows over benches and machines. Adding bright, even lighting, such as overhead strip lights or panels, makes a major difference to accuracy and safety. Task lights over the bench and over fixed machines fill in shadows. Pick light fixtures designed for garages and check that they suit cold, damp or dusty conditions. Choosing neutral white light helps you judge colours when finishing.
Power needs planning too. Count the tools you use together and the outlets available. Avoid daisy-chaining extension cords and power strips for heavy loads. If you need more outlets or dedicated circuits for larger tools, hire a qualified electrician; do not add wiring yourself unless you are qualified and local rules allow it. Outlets in garages are commonly required to have extra protection against shock, so check what applies in your area. Overhead cord reels or wall-mounted outlets reduce trip hazards and keep cords off the floor.
- Install bright, even lighting, with extra task lighting at the bench.
- Mount outlets at bench height and near machines.
- Use cord management to keep floors clear.
- Provide ventilation for finishing work and dust, such as an open door, fan or extraction as appropriate.
- Install smoke and carbon monoxide alarms as local guidance suggests, and keep a fire extinguisher accessible.
Dust and fumes are health issues as well as cleanliness problems. Plan a way to control them, such as a shop vacuum connected to tools, and keep finishing products stored according to their labels.
Workbench and Work Surface Choices
The bench is the center of most workshops, and its design affects comfort and efficiency. Height matters. A common guideline is a surface that comes up near your hip or wrist when your arms hang at your sides, though people differ and tasks do too. A slightly lower bench is better for planing and heavy work, while a higher one suits detailed work. Check that you can work without stooping or raising your shoulders. Depth and length should allow you to lay out a project and tools without crowding.
Bench types include fixed benches built from lumber and plywood, ready-made steel or hardwood benches, folding wall-mounted benches and mobile benches on wheels. In a shared garage, a fold-down bench or a rolling bench that tucks away provides space for a vehicle. Whatever you choose, the top should be flat, strong and replaceable, since it takes a lot of abuse. Add a vise if you do woodwork or metalwork, and holes or dog slots if you want to use clamps and holdfasts. Storage underneath, such as shelves or drawers, makes use of dead space, though it should not interfere with your legs or stool.
- Choose a height that suits your most frequent work.
- Make sure the bench is stable and does not rock under load.
- Position it so that you can walk around at least three sides if you can.
- Use wheel locks if you choose a mobile bench.
- Keep the top clear, and put tools back as you finish with them.
A sacrificial top surface, such as a replaceable board, protects the main bench from cuts and glue. Replace it when it becomes too damaged to give a flat working surface.
Safety, Fire and Chemical Storage
A workshop is also a place where hazards collect, and organizing it well includes managing them. Flammable liquids such as fuel, solvents and some finishing products should be stored in approved containers, away from heat sources, pilot lights and sparks. Check local rules on quantities and storage locations. Keep products in their original containers with labels intact, and store chemicals according to their labels, ideally on lower shelves or in closed cabinets to avoid spills falling on people. Never store incompatible products together; the labels and safety data sheets give guidance.
Oily rags and some finishing materials can heat as they dry and may catch fire. Dispose of them according to the product label and local guidance, for example in a sealed metal container with water, or spread flat outdoors to dry. Keep a fire extinguisher suited to the kinds of fire you might face, mounted near an exit and checked periodically. A first-aid kit, eyewash and a list of emergency numbers should be easy to find. Keep children and pets away from tools, chemicals and sharp items, using lockable cabinets where appropriate.
- Store flammable products in approved containers, away from ignition sources.
- Keep chemicals off the floor and out of reach of children.
- Mount a fire extinguisher and a first-aid kit near the exit.
- Dispose of rags, solvents and old products according to local rules.
- Disconnect or lock out power tools when not in use if children can access the garage.
Review your setup regularly. Spills, leaks, damaged cords and cluttered exits are early warnings that your system needs attention.
Budget Tiers, Questions to Ask and Maintaining Your System
You can organize a workshop at almost any budget level. At the low end, recycled shelving, simple hooks, a pegboard and labeled bins give a surprising amount of order. Mid-range solutions include steel shelving, modular wall systems, rolling tool chests and purpose-built cabinets. High-end setups feature custom cabinetry, integrated dust collection, specialized flooring and built-in lighting. A tidy system does not have to be expensive; consistency and labeling often matter more than the cost of the storage. Buy gradually, and put purchases to the test by living with the layout for a few weeks.
Questions to ask before buying storage:
- How much weight will this shelf or hook hold, and is it fixed into studs or solid framing?
- Does it fit the dimensions of my tools and containers?
- Can it be reconfigured if my needs change?
- Is the material suitable for damp, hot or cold conditions?
- Will it block access to utilities or the vehicle?
Signs that your system is failing include tools piling up on the bench, items you cannot find, floors that are cluttered, overloaded shelves that bow, hooks that pull out of the wall, and boxes stacked unsafely. When that happens, pause and review. Remove things you no longer use, change the layout of a zone that isn’t working, and repair or replace failing hardware. Schedule a short regular check, such as a seasonal tidy, to keep the system working. Keep a log of where things live so that others in your household can find and return them.
FAQ
How do I organize a garage workshop when space is tight?
Go vertical. Use walls and ceiling space for storage, and choose a fold-down or rolling bench that tucks away when you are done.
Should I label everything?
Yes, at least bins, drawers and shelves. Labels help other people find and return items too.
How much space do I need around a workbench?
Leave enough room to move freely and to handle the largest workpiece you expect, with clear paths on at least the working sides. Measure your actual projects rather than relying on a fixed figure.
What lighting is best for a garage workshop?
Bright, even overhead lighting with extra task lights at the bench and machines works well. Choose fixtures made for garage conditions and avoid single-bulb setups that cast shadows.
Can I run all my tools from one extension cord?
Not safely if the combined load exceeds the cord's rating. Use appropriately rated cords and ask a qualified electrician about adding outlets or circuits.
How should I store flammable liquids in the garage?
Keep them in approved, labeled containers, away from heat, pilot lights and sparks, and follow local rules on quantities and locations.
What is the best way to store lumber?
Support it on wall racks or overhead racks fixed into solid framing, keeping it off damp floors and flat enough to avoid warping. Check the load rating of the racks.
Is a mobile workbench a good idea?
Yes for shared spaces, since it can be moved out of the way. Choose sturdy wheels with locks, and make sure the bench does not rock during use.
How do I keep dust under control?
Connect a shop vacuum or dust collector to tools where possible, clean with a vacuum rather than sweeping, and ventilate when finishing or sanding.
Should I keep a first-aid kit in the workshop?
Yes. Keep a first-aid kit and fire extinguisher near the exit, and learn how to use them. Check their condition from time to time.
The Short Version
Empty, sort, zone, store and label, in that order. Keep frequently used tools close and the floor clear. A short reset after each job keeps the order you built.