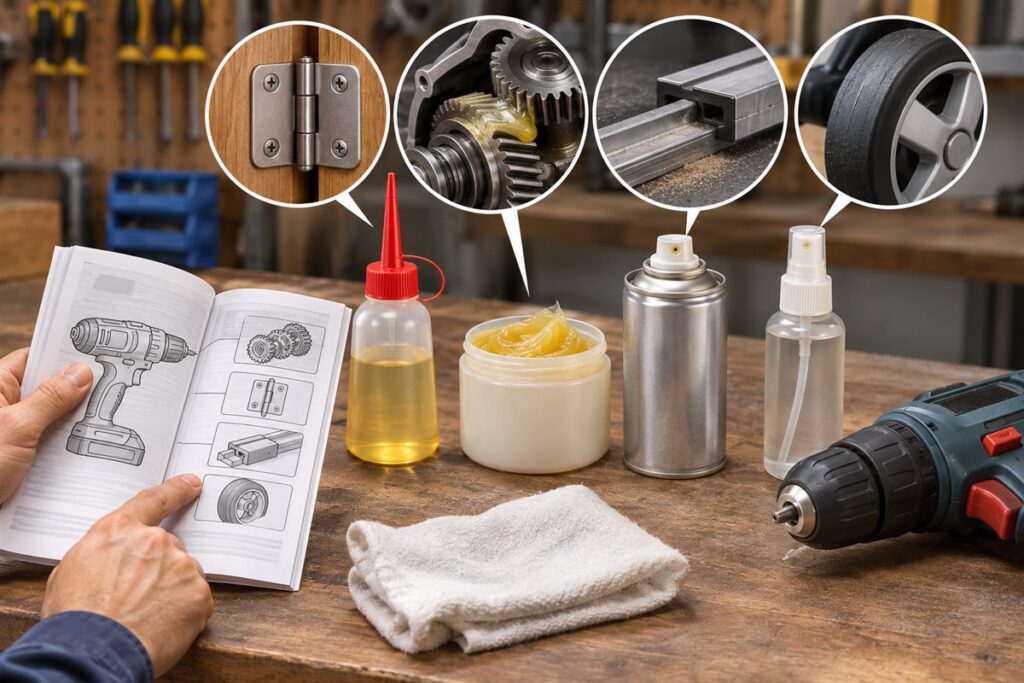
The right lubricant depends on the part you are treating: thin oils suit small moving parts, grease suits heavy loaded parts, and dry films suit places where dust sticks to oil. Always check the tool’s manual first, because some parts should not be lubricated at all.
Four Common Types
Each type has a general job, and the label on the product tells you which materials it suits.
- Light oil: hinges, pivots, cable ends and small moving parts that see light loads.
- Grease: gears, bearings and sliding parts that carry more load and need a lubricant that stays put.
- Dry film or dry spray: places where oil would collect dust, such as tracks and some sliding guides.
- Silicone-based products: some rubber, plastic and sliding parts, where the label allows them.
Check Before You Apply
Your tool’s manual says what to lubricate, how often, and with what type of product. Some power tools have sealed gearboxes that the owner should not open. Some components, such as brake surfaces, clutch parts and the contact areas of certain chucks, can be harmed by the wrong lubricant. When the manual is silent, ask the maker or a qualified service center.
Matching Lubricant to Use
| Factor | Why it matters | What to check |
|---|---|---|
| Part type | Loads and speeds vary by part | Whether the part pivots, slides or turns |
| Materials | Some products affect plastic or rubber | Compatibility notes on the label |
| Dust exposure | Oil traps grit | Whether a dry product suits better |
| Temperature | Hot or cold conditions change thickness | The temperature range on the label |
| Food or wood contact | Residue can transfer | Where the part touches work surfaces |
A Simple Routine
- Disconnect the power or remove the battery.
- Wipe away old residue, dirt and rust flakes with a clean rag.
- Apply a small amount to the area the manual names.
- Work the part through its movement so the lubricant spreads.
- Wipe off the excess so it does not attract dust.
Use spray products with ventilation, away from heat and flame, and read the warnings on the container. Used rags and leftover product can be hazardous waste, so follow your local collection rules.
Keep a short note of what you used on each tool and when. Mixing unlike products on one part can cause trouble, so knowing what is already there helps you choose the next product and decide whether to clean the part first.
FAQ
Can one product do every job?
A multi-purpose product can cover light jobs, but it may not suit loaded gears or bearings. Choose by the part and the manual rather than by a single can for everything.
Is more lubricant better?
No. Too much collects dust, can drip onto work surfaces and may reach parts that should stay dry. A thin, even film is usually enough.
The Short Version
Read the manual, identify the part, then choose oil, grease or a dry film to suit it. Apply a little, wipe off the excess and dispose of leftovers by local rules.