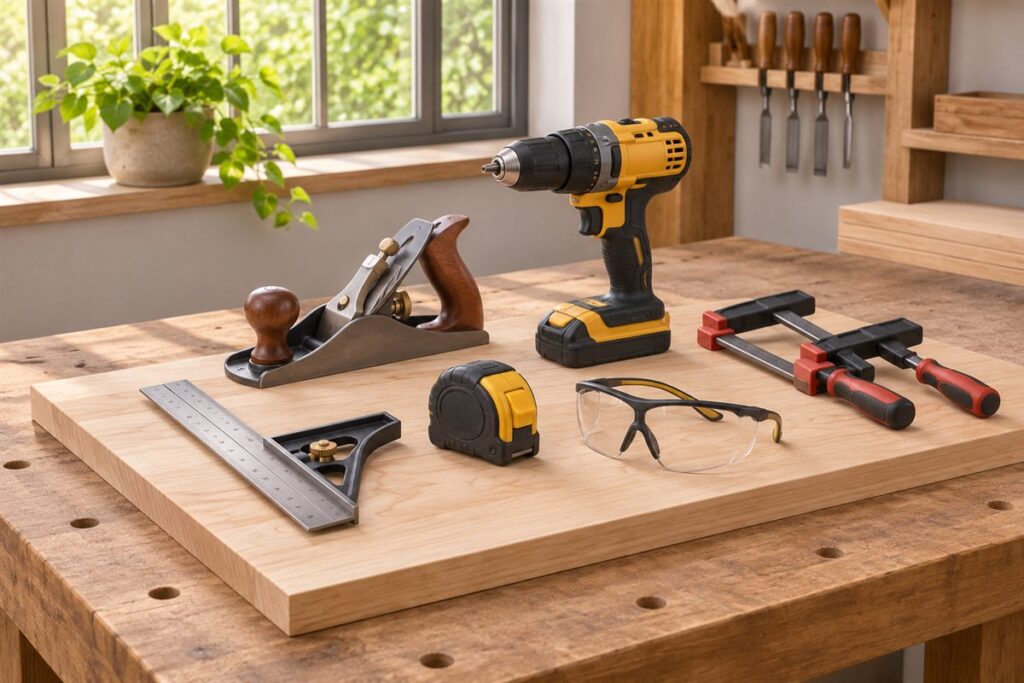
A good home workshop needs four things: a solid workbench, plenty of light, reliable power and storage that keeps tools within reach. Plan the space on paper, then build it in a sensible order. Even a corner of a garage or basement can work well with careful planning.
Plan before you buy
- Decide what you will build or repair. Furniture, car care and electronics need different layouts.
- Measure the room, doors and ceiling height, and sketch it on graph paper.
- Mark where outlets, windows, water and heating sit.
- Place the bench first, then add stations around it in the order you work: store, measure, cut, assemble, finish.
- Leave clear space around machines for handling long boards.
The key elements
- Workbench: sturdy, flat and at a height that lets you work with your elbows slightly bent. A vise or clamp points make it more useful.
- Lighting: bright, even overhead light plus a movable task lamp. Shadows hide mistakes.
- Power: enough outlets on circuits that can carry your tools. Consult a licensed electrician for new wiring, and use outlets with ground-fault protection in damp places.
- Ventilation: open doors, windows or a fan for dust and fumes. Use a mask suited to the job.
- Flooring: a flat, easy-sweep floor, with anti-fatigue mats where you stand a lot.
Zone guide
| Zone | What belongs there | Tip |
|---|---|---|
| Bench area | Hand tools, vise, task lamp | Keep the most-used tools in reach |
| Cutting area | Saw station, clamps, offcut bin | Leave room for long boards |
| Assembly area | Large flat table or sawhorses | Keep it clear between projects |
| Storage | Shelves, cabinets, wall racks | Label bins and drawers |
| Finishing area | Ventilated corner or outdoors | Store finishes and rags as the labels say |
Safety basics
Keep a fire extinguisher suited to workshop use near the exit and a first aid kit on the wall. Wear eye and hearing protection, and keep a clear path to the door. Read each tool’s manual and safety instructions, and unplug tools before changing accessories. Keep children and pets out of the workshop when tools are in use.
Build in stages. Set up the bench and lighting in the first weekend, add shelves and wall racks in the second, and bring in larger machines only once the space feels comfortable. Moving things around on paper is far easier than moving a heavy machine twice.
Choosing a Location in Your Home
Where you build the workshop shapes everything else. A garage offers space, a hard floor and easy access for large materials, but it may be cold, damp or shared with a vehicle. A basement is often quiet and stable in temperature, though moisture, low ceilings and stairs can complicate matters. A spare room is comfortable but needs care with dust, noise and floor protection. A shed gives separation from the house, but may need insulation, power and security.
Think about practical access. Can you carry long boards and heavy items in and out? Is there a wide door? How close is the nearest outlet and does it share a circuit with other appliances? Consider neighbors and household members: noise from saws and sanders carries, so check what hours are reasonable.
Check conditions through the year, not just on a mild day. Dampness encourages rust on tools and swelling in wood, while extreme heat or cold affects glues, finishes and comfort. If conditions are poor, a dehumidifier, insulation or a heater can help, but follow safety guidance for each. Walk through the space and imagine a typical project from delivery of materials to finished piece.
Building or Choosing a Workbench That Fits Your Work
The bench is the center of your workshop, so choose or build it with care. Height matters: a common guideline is that the top should be near your wrist height when your arms hang at your sides, though people who do detailed work often prefer a bit higher and those who plane or saw a lot prefer a bit lower. Try standing at different heights before deciding.
The top should be flat, strong and heavy enough not to move when you push or hammer. Solid wood or laminated boards are common choices. A thick top absorbs impacts better than a thin one, and a lower shelf can hold weight to add stability. Make sure the legs and joints do not rack when pushed from the side.
- Plan for a vise or clamping points, because holding work firmly makes every task safer and more accurate.
- Leave open space on at least one edge for clamps.
- Consider a size that fits your room while leaving space to walk around it.
If you are short of room, a folding or wall-mounted bench can work. Buying a ready-made bench is a valid choice if you prefer to start projects right away.
Lighting, Power and Dust Planning
Good light reduces mistakes and eye strain. Combine general overhead lighting with task lights that you can move to the work. Position lights so they reduce shadows from your own body, and consider light-colored walls to bounce light around. Check the color quality of bulbs, since daylight-type light shows wood grain and finish flaws more accurately.
For power, count the tools you will run at once and the sockets available. Avoid daisy-chaining extension leads and overloading outlets. Use leads rated for your tools and unroll them fully. For new circuits or sockets, hire a qualified electrician and follow local rules. Install outlets at bench height to avoid trailing cords across the floor, and consider switches that let you cut power to a group of tools.
Dust deserves early planning. Fine dust affects breathing and can be a fire risk in some settings. Think about a dust extractor or shop vacuum connected to tools that support it, a way to clean surfaces regularly, and a mask suited to the dust. Ventilation helps, but check that it doesn’t pull dust into living areas. Keep a routine of sweeping and emptying bins rather than letting dust accumulate.
Storage Systems That Keep Tools Ready
Good storage saves time and protects tools. Start by grouping tools by task: measuring, cutting, fastening, finishing. Keep the items you use most within an arm’s reach of the bench and less-used tools further away.
Wall space is valuable. Pegboards, French cleats and rails let you hang hand tools where you can see them, and you can rearrange the layout as your collection grows. Drawers and cabinets keep small items together and out of the dust. Labeled bins, clear containers or small parts organizers prevent a pile of screws and nails from turning into a jumble.
Plan for lumber storage as well. Wall racks or an overhead rack hold boards flat and off the floor, which helps prevent warping. Keep materials away from damp walls and ground contact. For sharp tools, use guards, rolls or blocks to protect both edges and hands.
Store chemicals, finishes and solvents according to their labels, in a cool, ventilated place away from ignition sources, and out of the reach of children. Review your storage every few months and remove items you no longer use.
Growing Your Tool Collection Sensibly
It is tempting to buy many tools at once, but a gradual approach saves money and space. Start with essentials for the work you actually plan to do: measuring tools, a saw, a hammer, screwdrivers, clamps, a drill and safety gear. Add tools when a project shows you need them, rather than in anticipation.
Before each purchase, ask a few questions. Will I use this regularly? Can I borrow or rent it for a one-off job? Does it fit the space and the power available? Do accessories and replacement parts exist locally? For tools that you will use often, quality and comfort matter more than extra features.
Think about compatibility. If you choose cordless tools, sticking with one battery system keeps costs and clutter down. For stationary machines, check footprint, weight, dust collection and power requirements, and read the manual before use. Keep receipts and manuals in a folder. Maintain what you own by cleaning, oiling and sharpening, since well-kept tools last longer. Regularly review the collection and pass on tools you no longer use.
FAQ
How much space do I need?
You can begin with a bench and a wall. More space lets you add machines and wider layouts as your projects grow.
What should I buy first?
Buy the bench, lighting and storage before large machines. A good foundation makes every tool more useful.
Can I set up a workshop in a rented home?
Often yes, with portable benches and wall-free storage. Check your lease for restrictions on modifications, noise and storing materials.
How do I control noise for neighbors?
Work at reasonable hours, close doors and windows, and use hand tools for quiet tasks. Rubber mats under machines can reduce vibration.
What flooring is best?
A flat, durable surface that is easy to sweep, such as sealed concrete or sturdy boards. Anti-fatigue mats help where you stand for long periods.
Do I need a dust collector?
For hand tool work, a shop vacuum and good cleaning habits may be enough. If you use sanders and saws regularly, consider dust extraction and a suitable mask.
How should I store tools in a damp space?
Keep them off the floor, wipe them after use and consider a dehumidifier or rust-inhibiting products as the maker advises.
Is a vise necessary?
Not essential, but it makes many tasks safer and easier. Clamps can substitute if you plan carefully.
How do I keep children safe around a workshop?
Lock the door, store sharp tools and chemicals out of reach, and unplug machines when not in use.
The Short Version
Plan the layout, build the bench, fix the light and power, then add storage and tools in stages. Prioritize ventilation and safety from day one.