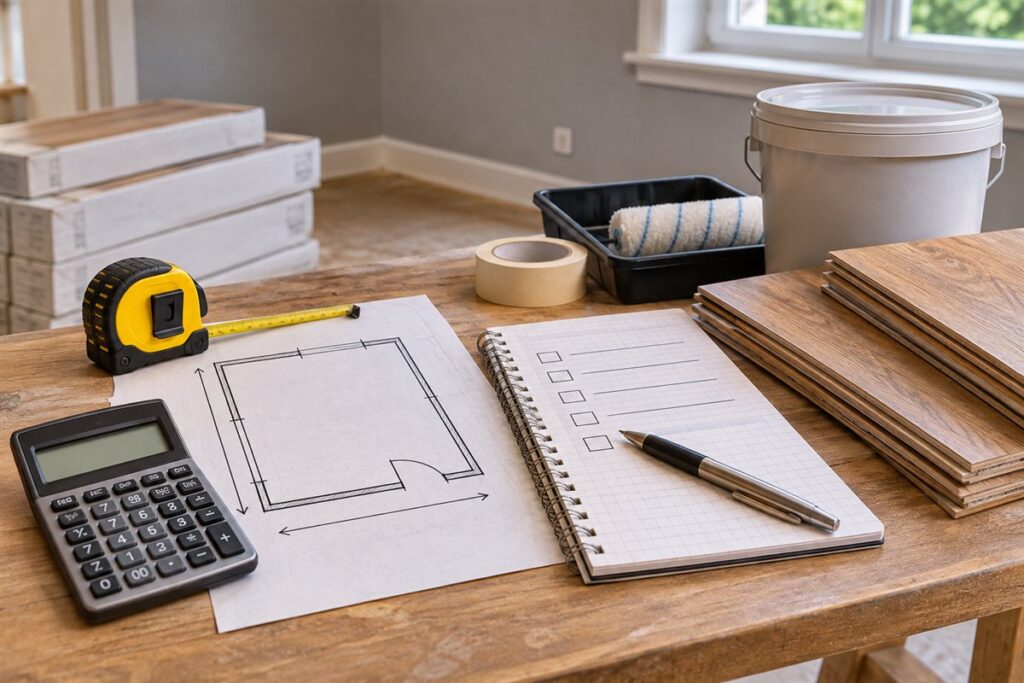
To estimate materials, measure the area or parts, convert them into quantities of the product you plan to buy, and add a waste allowance. Doing this carefully avoids running short mid-job and avoids a pile of leftovers you never use.
A Simple Estimating Method
- Measure the space or the parts from your plan, and write the numbers down in one unit system.
- Calculate the area or length for each material, for example floor area in square metres or total length of timber.
- Check the size and coverage of the product you intend to use, shown on its packaging or in the maker’s guide.
- Divide the total need by the coverage per pack or length, then round up to whole packs or pieces.
- Add an allowance for waste and mistakes.
- Write a final list with quantities and keep it with you in the store.
Waste Allowance Basics
How much to add depends on the material, the shape of the room and your experience. Simple layouts need less, and diagonal patterns, tiles with matching patterns and awkward rooms need more. The material maker often recommends a figure, so check its guide. Beginners often add more than experienced workers.
Materials at a Glance
| Material | How to measure | What to check |
|---|---|---|
| Flooring or tiles | Room area | Pack coverage, waste advice |
| Timber | Total length of pieces | Standard lengths available |
| Sheet board | Layout on a sheet | Sheet size, kerf |
| Fasteners | Count per joint | Length and type |
| Wall coatings | Wall area minus openings | Maker’s coverage figure |
Common Mistakes
- Mixing units, such as feet and metres.
- Forgetting thickness, or using nominal sizes for timber instead of actual ones.
- Not deducting windows and doors, or not adding for overlaps.
- Buying exactly the number needed, with nothing spare for errors.
- Forgetting small items such as adhesive, screws, spacers and sandpaper.
Handling and Disposal
Check how materials should be stored before use, since some need to sit flat or acclimatise. Leftover liquids, adhesives and treated materials should be handled following local rules. If a project involves structural elements, loads or hazardous materials, ask a qualified professional to check your quantities and specifications.
Finally, compare your list with the plan once more before you go. Read through each stage and ask whether any tool, consumable or fixing is missing. A second look at home is much easier than a second trip to the store, and it helps you catch quantity mistakes while they are still simple to fix.
Drawing a Plan and Taking Good Measurements
Estimates are only as accurate as the measurements behind them. Begin with a simple sketch of the project, showing each wall, board, panel or bed with its dimensions. A sketch does not need to be neat, but it should include every part you will buy materials for, as well as features that change quantities, such as doors, windows, corners, steps and obstacles. Label which side is which and note the units. Writing everything in one system, either metric or imperial, avoids conversion mistakes later.
Measure each dimension at more than one point. Walls, floors and frames are rarely perfectly straight or square, so check width at the top, middle and bottom, and use the largest measurement when ordering materials that must cover the area. Use a steel tape in preference to a cloth one, hold it flat and hook it firmly. Where a long distance must be measured, ask a helper to hold the other end, or measure in sections and add them.
Check squareness with a framing square or by measuring the diagonals of a rectangle. If the diagonals differ, the space is out of square, and cut materials must allow for that. Photograph the area with the tape visible, as pictures help you remember details when you are in the store. Note anything that will affect installation, like uneven floors, damp areas, outlets and pipes.
- Record measurements as soon as you take them.
- Round up to the next convenient unit, not down.
- Have a second person double-check key numbers.
Coverage Rates and Pack Sizes
Once you know the area or length required, you need to convert it into the units the product is sold in. This calls for the coverage rate or pack size from the packaging or the maker’s guide. For coatings, the label usually gives an approximate coverage per container, though actual coverage depends on the surface, the number of coats and application method. Rough or absorbent surfaces use more. For flooring and tiles, the pack states the area it covers, and you divide the total area by that figure. For timber, the length of each piece sets how you divide the total.
Always round up to whole packs, boxes or pieces, since you cannot buy part of a pack. After rounding, check whether the leftover is enough to cover your waste allowance. If you are close to the edge, buy one more. Consider whether different pack sizes change the cost per unit of coverage, and whether you would have less waste with a different size.
Watch for the difference between nominal and actual sizes. Many materials are sold under names that do not match their real dimensions, particularly timber and some boards. Use actual dimensions from the label or listing for calculations. Coverage figures on packaging should be treated as guides. If your surface is unusual, ask the maker or the store how it affects quantities.
- Write the coverage figure next to each item on your list.
- Check whether the pack covers one coat or several.
- Calculate each material separately.
Layout Patterns and Cutting Waste
Waste depends heavily on how the material is laid out and cut. Tiles or planks installed in a straight pattern generate less waste than ones laid diagonally, in a herringbone or in a complex pattern, since more pieces must be cut at angles and edges. Rooms with many corners, alcoves and obstacles also produce more offcuts. Patterned materials that must be matched across seams, such as wallpaper with a repeat, need extra length so the design lines up.
For sheet materials such as plywood or board, plan the cuts on paper first. Draw the sheet to scale, then arrange your pieces on it to see how many sheets you need. This is especially useful when parts come in different sizes. Remember that each saw cut removes a strip of material, known as the kerf, so pieces cut from one sheet will be slightly smaller in total than the sheet. Allow for it in your layout.
For timber, list the lengths you need and fit them into the standard lengths available, to reduce offcuts. Sometimes buying a longer length and cutting it into several pieces uses material more efficiently. Think about grain direction, defects and the need for matching appearance on visible surfaces. Keep the best pieces for visible parts, and use shorter ones for hidden work.
- Draw a cutting plan before you buy sheets.
- Leave room for the blade width between pieces.
- Group similar cuts to reduce waste.
Buying in Stages and Handling Surplus
Large projects benefit from staged buying. Order the main materials first, check them on delivery and begin work before purchasing the smaller items that depend on the final dimensions. This approach lets you adjust quantities if something proves different from the plan. However, for materials where color or finish varies between batches, such as tiles, flooring and paint, buy the full amount in one purchase if possible, and check the batch numbers on the packs.
Check the delivery on arrival. Count packs, inspect for damage, and compare product codes against your order. Store materials as the maker directs, which may mean flat, dry and off the ground, away from direct sun. Some materials, such as flooring, need to sit in the room for a while to adjust to temperature and humidity before installation, so allow time in the schedule.
Plan what to do with leftovers. Keep a few spare tiles, planks or paint in labeled containers for future repairs, since matching them later can be difficult. Check the returns policy on unopened packs before you buy, and keep receipts. For hazardous leftovers, such as paints, solvents, adhesives or treated timber, follow the label and local rules for storage and disposal. Do not pour them down drains or burn them. Donate or recycle usable surplus when practical, since a half-box of fasteners or a stack of offcuts can help someone else.
- Label leftovers with the room and date.
- Keep the pack label or batch number with spare material.
Final Checks Before You Shop
A last review catches many mistakes before they cost money. Read through your list and compare it with the plan step by step. Imagine doing the work from start to finish, and note everything you will touch: surface preparation products, primer, adhesive, fasteners, spacers, sealant, trim, filler, tape, drop cloths, blades, bits, sandpaper and disposable gloves. Consumables and small items often get forgotten and can force an extra trip when work is under way.
Check that every item on the list has a quantity, a unit and a size. Where there are choices, note the exact product, since similar products may differ in coverage, thickness or compatibility. Consider whether your tools are suitable. Does the job need a particular blade, bit or notch size? Do you have enough tool time and the right safety equipment, such as eye protection, hearing protection and a dust mask? Add them to the list if needed.
Think about transport. Long or heavy items may require a suitable vehicle or delivery. Check door and stair clearances at home if you are bringing bulky sheets inside. Check the total weight before loading a car.
Finally, ask whether some parts need professional help. Structural changes, electrical work, gas and plumbing generally call for a qualified person and may require permits under local rules. Get advice before buying materials for such work, since the professional may specify materials and quantities. Keep your list, plan and receipts together, so you can verify the order and track costs once the project begins.
FAQ
Is it fine to buy extra?
A little extra is sensible. If the store accepts returns of unopened packs, that can ease worries, but check its policy.
Do batches matter?
For some products, such as tiles and flooring, colour can vary between batches. Buy enough from one batch where possible.
How do I measure an irregular room?
Break it into rectangles and other simple shapes, measure each one, calculate separately and add the results. Use the largest dimensions where walls are not straight. Sketching the shapes helps you avoid missing sections.
How much extra should I buy for mistakes?
It depends on the material, layout and your experience. Simple layouts need less, while diagonal or patterned ones need more. Check the maker's advice on the packaging, and err on the side of a bit more for materials that are hard to match later.
What if I need to calculate volume, such as for concrete or soil?
Multiply length, width and depth in the same unit, then convert to the unit the supplier uses. Round up and ask the supplier how much extra to allow for uneven ground. For structural concrete, ask a qualified professional.
How do I estimate fasteners?
Count the joints or fixing points in your plan, multiply by the number per point and add a margin for dropped or damaged ones. Remember that fasteners are sold in boxes, so round up to full boxes.
Should I include delivery and tool costs in my estimate?
Yes. Add delivery, hire or rental of tools, safety gear and disposal fees so you see the full cost. A complete budget avoids surprises partway through the project.
Can I return unused materials?
Many stores accept unopened items within a set period, but policies differ. Ask before buying, keep receipts and store the items in their original packaging. Cut or special-order items are often not returnable.
What is the best way to double-check my numbers?
Recalculate using a different method, such as working from the plan and then from direct measurements, and ask another person to check. If the two results differ noticeably, find the cause before ordering.
The Short Version
Measure, convert to pack sizes, round up and add waste. Keep units consistent, and get professional advice for structural or hazardous elements.