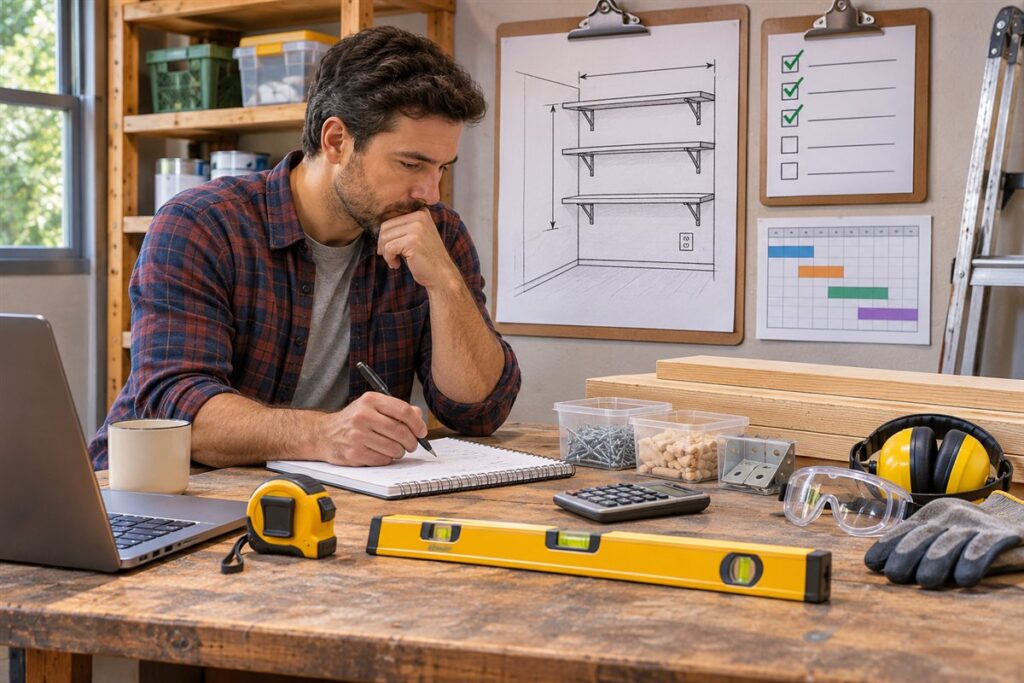
To plan a DIY project, define what you want, measure the space, list materials and tools, check any rules, and set a realistic schedule with room for delays. A written plan takes an hour or two and often saves many trips to the store and a lot of frustration.
Step by Step Planning
- Write one sentence describing the finished result, such as “a set of shelves on the north wall of the garage”.
- Measure the space and sketch it. Note doors, sockets, pipes and anything that limits size.
- Break the job into stages, for example prepare, build, fit and finish.
- List the materials for each stage, with quantities and a small allowance for waste.
- List the tools you own, and those you need to buy, borrow or hire.
- Estimate the time each stage will take, then add a buffer for mistakes and drying times.
- Decide the order of work and what can happen in parallel.
Check Rules and Limits Early
Some projects need permission. Structural changes, new electrical circuits, gas work, drainage and large outdoor structures often fall under local building rules, and licensed trades may be required. Check with your local authority, and speak to a qualified professional about anything you cannot do within those rules. If you rent, read your lease first.
Know Your Skill Level
Be honest about what you can do. A confident beginner can often build simple furniture or hang shelves. Work at height, wiring, gas, structural alterations and hazardous materials call for a qualified professional. It is fine to do part of a job yourself and hire out the rest.
A Simple Planning Table
| Stage | Questions to answer |
|---|---|
| Goal | What does finished look like? |
| Space | What are the exact measurements? |
| Materials | What do I need and how much? |
| Tools | What do I have, and what do I lack? |
| Rules | Is any permission or licence needed? |
| Time | How long will each stage realistically take? |
Before You Begin Work
- Read the maker’s manual for every tool you will use.
- Gather safety gear such as eye protection, gloves and hearing protection.
- Clear and light the work area.
- Plan how to dispose of waste, following local rules for anything hazardous.
Keep the plan visible. Pin it on the wall of the workshop or keep it on your phone, and tick off each stage as you finish it. If something changes, update the plan instead of relying on memory. After the project, note what went well and what you would do differently, because that record makes the next plan faster and more accurate.
FAQ
How much extra time should I allow?
Many people add a generous margin to the first estimate, since small surprises are common. Adjust based on your experience.
Should I draw the project?
Yes. Even a rough sketch with measurements reveals problems before you buy materials.
The Short Version
Define the goal, measure, list materials and tools, check rules, and schedule with a buffer. Know your limits, and bring in a qualified professional where required.