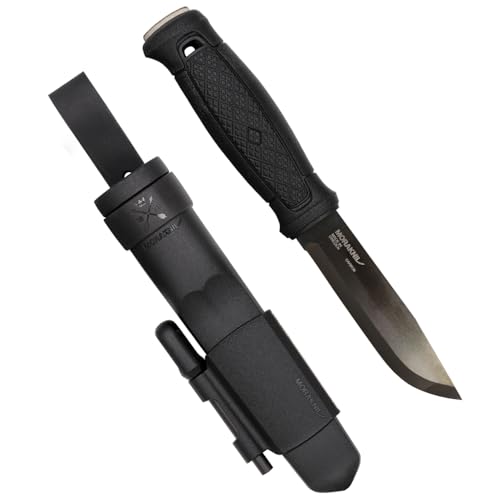
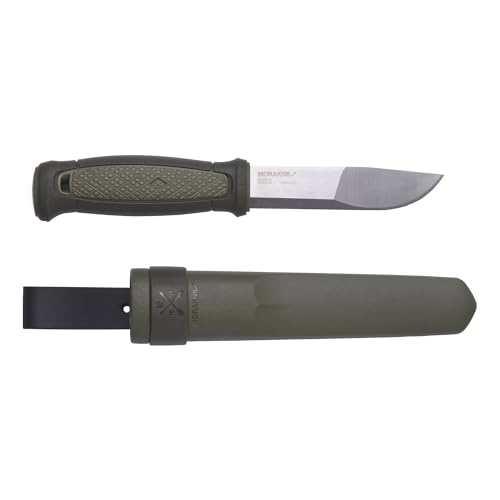
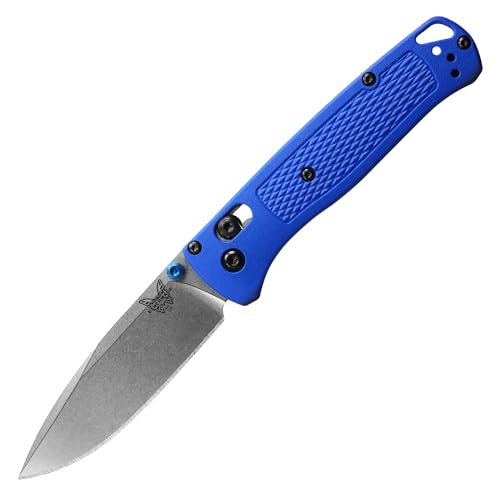
Chip carving removes small triangular chips from flat wood to create geometric patterns. The work calls for a razor-sharp, slim blade and a comfortable grip. A dedicated set is helpful because chip carving uses specific blade shapes, such as the skew and the stab knife. Start with a softwood board and a few simple triangles before trying full patterns.
The six chip carving knives and sets below span different styles and budgets. We have not used these products ourselves, and the descriptions come from general product knowledge rather than hands-on testing. Details can change between versions, so confirm sizes, materials and what is included on the current listing before you buy. Contents differ by set and some listings are single knives, so check the current listing for what you get.
As an Amazon Associate we earn from qualifying purchases. Links below are affiliate links, and they do not change the product information we give.
What to Look For
| Feature | Why it matters |
|---|---|
| Blade shape | Chip carving needs a skew or angled blade for clean cuts |
| Steel | Good steel holds a sharp edge through long sessions |
| Handle | A comfortable handle prevents fatigue |
| Sharpening | Include a strop or stone to maintain the edge |
| Set contents | Check if you get one knife or several |
| Grip style | Pencil-style handles give control for small cuts; fuller handles tire the hand less |
In this guide
Specs at a Glance
| Set | Type | Key feature | Notes |
|---|---|---|---|
| BeaverCraft Chip Carving Knife Set | Knife set | Carving knives, wood handles | Beginner friendly |
| Two Cherries Chip Carving Knife | Knife or set | German tool brand | Traditional |
| Pfeil Swiss Made Chip Carving Knives | Knife | Swiss-made, fine edge | Premium |
| Kirschen Chip Carving Knife | Knife | German steel | Classic |
| Morakniv Woodcarving 106 | Carving knife | Laminated steel, wood handle | Companion tool |
| Flexcut Carvin’ Jack | Folding carving tool | Several folding blades | Portable |
The 6 Best Chip Carving Knife Sets
Top pickBest for beginners
1. BeaverCraft Chip Carving Knife Set
A set of chip carving knives from a brand focused on woodcarving tools. It includes a few blades so a new carver can try different cuts.
Suits: beginners. Strengths: a ready-made starting set. Weaknesses: you may still want to sharpen it first. Skip it if you want a single premium knife.
Best for traditional carvers
2. Two Cherries Chip Carving Knife
A chip carving tool from a German brand with a long woodworking tradition. It is aimed at serious hobbyists who want a traditional feel.
Suits: traditional carvers. Strengths: a respected maker. Weaknesses: a higher cost. Skip it if you want a budget set.
View Two Cherries Chip Carving Knife on Amazon
Best for dedicated carvers
3. Pfeil Swiss Made Chip Carving Knives
Chip carving knives from a Swiss carving tool maker with a reputation for fine edges. They are a premium choice for dedicated carvers.
Suits: dedicated carvers. Strengths: a fine edge from a specialist maker. Weaknesses: a premium cost tier. Skip it if you are just starting.
View Pfeil Chip Carving Knives on Amazon
Best for precise work
4. Kirschen Chip Carving Knife
A traditional chip carving knife from Germany with a slim blade for precise cuts. It is a classic design that many carvers know.
Suits: precise work. Strengths: a classic, slim design. Weaknesses: it is a single knife. Skip it if you want a full set.
View Kirschen Chip Carving Knife on Amazon
Best for whittling and cleanup
5. Morakniv Woodcarving 106
A general carving knife from a Swedish maker. It is not a dedicated chip carving set but works as a companion for roughing out and cleanup.
Suits: whittling and cleanup. Strengths: a keen edge for the cost. Weaknesses: not designed for chip carving cuts. Skip it if you only want chip carving.
View Morakniv Woodcarving 106 on Amazon
Best for travel carving
6. Flexcut Carvin’ Jack
A folding carving tool with several blades from a known woodcarving brand. It is a handy portable option for whittling on the go.
Suits: travel carving. Strengths: a portable design. Weaknesses: not a dedicated chip knife. Skip it if you need a traditional set.

Care and Setup
- Strop the blade often to keep it sharp.
- Wipe the blade dry after use.
- Store tools in a roll or case.
- Practice on basswood or a similar softwood.
- Keep a leather strop and compound handy, since chip carving rewards a polished edge.
Mistakes to Avoid
- Carving hardwood too early.
- Using a dull knife.
- Cutting toward your hand.
- Skipping practice patterns.
- Pushing too hard instead of letting a sharp blade do the work.
Understanding Skew and Stab Blades
Traditional chip carving uses two cutting actions, and the blade shapes are built around them. The skew knife has an angled, pointed edge. You make a stop cut or a side cut with it, which lets you cut each wall of a triangular chip at an angle toward the center. The stab knife, sometimes called a stab or pointed knife, is held more upright and is pushed into the wood, which is useful for cutting short walls and the corners of triangles.
Many beginner sets include one knife with a slim blade that can handle both actions, while others supply a separate skew and stab pair. For a first purchase, one well-sharpened skew-style knife is enough to learn basic triangles, and the second blade becomes useful once you start working on tight curves or small details. Check the listing to see which blade types a set contains, because some products sold as chip carving sets include general whittling blades that are poorly suited to the angled cuts.
Blade width and thickness matter. A slim, thin blade slips cleanly into narrow cuts and leaves crisp walls, while a thick blade tends to wedge and crush the fibers. Look for a blade whose edge geometry is described as fine or slim, and read what the maker states about the bevel. Also consider length. A short exposed blade gives you more control for small work because your hand sits close to the cut. Some carvers shorten their grip by choking up on the handle. If the listing does not show the blade dimensions or the profile, check the manual or ask the seller.
Choosing Wood and Practice Boards
The wood has a bigger effect on your early results than the knife. Basswood is the usual starting choice because it is soft, has an even grain and shows few hard and soft bands. Butternut and some other fine-grained softwoods are used too. Pine can be tricky because its grain alternates between soft earlywood and hard latewood, so the knife may skid along the hard lines and tear the soft ones.
Buy boards that are flat, dry and sanded smooth. A thin board, often a few millimeters to about a centimeter thick, works well for practice, but check that it will not split along the grain when you cut near the edge. Chip carving cuts need a clean surface, so sand lightly and wipe off dust before you draw your pattern.
Many beginners practice the same exercises repeatedly: rows of simple triangles, then squares made from four triangles, then straight lines and curves. Draw guide lines with a pencil and a ruler, because uneven spacing is easier to see in the wood than in a drawing. Keep a stack of inexpensive offcuts so you do not worry about ruining a good piece.
Pay attention to grain direction. Cutting across the grain gives a crisp wall, while cutting along it can cause the blade to follow the fibers and wander. If a cut tears out, rotate the board and approach from the other side. Hardwoods such as oak or walnut can be carved, but they demand a keener edge and more force, so they are better kept for later projects.
Sharpening and Stropping Routine
A chip carving knife works only if it is truly sharp. A dull edge crushes fibers and leaves a fuzzy, ragged wall, and it tempts you to push harder, which is how slips happen. Many knives arrive with an edge that is usable but not ideal, so plan to touch it up before the first project.
A common routine has three stages. First, if the edge is damaged or dull, work it on a fine sharpening stone, keeping the bevel angle steady and using light pressure. Second, remove the burr on a finer stone or a ceramic stick. Third, polish on a leather strop loaded with fine compound until the edge cuts end grain without resistance. Strop often. A short session every half hour keeps the edge keen and means you rarely need to go back to the stone.
Test sharpness on scrap wood rather than on your skin. A sharp knife slices a clean, shiny wall and glides across softwood with little effort. A dull one leaves a rough, whitish surface. Check the instructions from the maker on what bevel angle suits the blade, and be cautious about aggressive sharpening tools that remove a lot of steel.
Look at whether the set includes any sharpening aids, and do not assume it does. If it does not, add a strop and a little compound to your budget. Good care also means keeping the blade dry and storing it in a sheath or roll so the edge does not strike other tools.
Safe Hand Positions and Body Mechanics
Chip carving is gentle work, but a razor-sharp blade demands good habits. Learn a few standard grips and always keep your free hand out of the cutting path. In the common knife grip the handle sits in your palm with the thumb braced against the wood or the board’s edge. That gives a stable pivot, so the blade moves in a controlled arc instead of sliding freely. For stab cuts, hold the knife upright like a pencil and use your thumb as a stop.
Many carvers hold the board against a table with a non-slip pad or a bench hook so that both hands are free for the knife. Never cut toward your supporting hand, and never carve on your lap. Consider a cut-resistant glove on the hand that holds the board, even though it takes some getting used to. Keep a small first aid kit nearby.
Take care of your posture as well. Sit at a table where your forearms rest comfortably and the work is at a height that lets you see the knife tip. Good light from the side, rather than directly overhead, throws small shadows across the cuts, helping you judge depth. Take short breaks every half hour or so because tight, repetitive grips tire the hand and lead to errors.
When the grip feels uncomfortable, look at the handle. Slim, pencil-like handles allow fine control but can strain larger hands, while thicker handles spread pressure. Try different grips before concluding that the knife is wrong for you.
What to Buy First and When to Upgrade
You do not need to begin with the most expensive knife. A sensible starter kit has one or two chip carving knives, a few basswood boards, a pencil and a ruler, and a strop with compound. If you pick a ready-made set, check that the blades are the right profile and that the handles feel comfortable in your hand, since you will be gripping them for long sessions.
Budget tiers differ in finish and steel more than in function. Lower-cost knives can work well after a careful sharpening, but may need more frequent touch-ups, and the fit of the handle can be less refined. Mid-range and premium knives from specialist makers usually offer better steel, more consistent edges and more comfortable handles, which matters if you carve regularly. Whichever route you take, read the product listing for steel type, blade length and what is included.
Signs that it is time to upgrade include an edge that will not hold up after a short carving session even after proper sharpening, a loose or cracked handle, a blade that has been chipped or bent, or constant hand cramps from an unsuitable grip. At that point a knife with better steel or a different handle shape can make the work easier.
Before you buy, ask whether you want a set for variety or a single knife for focus, whether the maker offers replacement blades or handles, and whether the listing is clear about contents. Clear answers prevent disappointment.
Your First Practice Session, Step by Step
Chip carving looks intricate, yet the basic motion is simple and repeatable. A calm first session on scrap wood builds the muscle memory that fancy patterns later depend on. Gather a flat softwood board, a pencil, a ruler, a sharp knife and a clear, well-lit table, then work through the steps in order.
- Draw a grid of small squares and a few triangles on the board with a pencil and ruler.
- Hold the knife with a relaxed grip and keep your thumb braced against the board, away from the cutting path.
- Cut one side of a triangle with a steady, shallow pull, keeping the blade at a consistent angle.
- Rotate the board, rather than your wrist, to cut the second side.
- Make the third cut to free the chip, and lift it out cleanly.
- Repeat across the whole grid, aiming for even depth rather than speed.
Expect the first dozen triangles to look uneven. That is normal, and the improvement from the first row to the last often surprises beginners. Take breaks when your hand tires, because fatigue is when slips happen.
Common Cut Problems and What They Usually Mean
When a chip comes out ragged, the cause is usually one of a few familiar things. This table sums up the typical culprits.
| What you see | Likely cause | What to adjust |
|---|---|---|
| Torn, fuzzy edges | Dull blade or cutting against the grain | Strop the edge and change the cut direction |
| Chips that will not release | Cuts too shallow or meeting angles are off | Deepen the cuts slightly and match the angles |
| Wandering lines | Rushing or poor grip | Slow down and brace the thumb |
| Splitting along the grain | Cutting too close to the edge or using dry, brittle wood | Leave a margin and try a more forgiving board |
Most of these are about technique and sharpness rather than the set you own, so do not rush to blame the tools before checking the edge.
Setting Up a Safe, Comfortable Workspace
Good lighting, a stable surface and a tidy table matter as much as the knife. Sit at a height where your forearms rest naturally, and place a light on the side opposite your cutting hand so your shadow does not cover the blade. Keep a small tray for chips so the surface stays clear.
Tool Handling Habits
- Store blades with covers or in a roll, and keep them out of reach of children.
- Cut away from your body and your supporting hand whenever possible.
- Follow the maker’s guidance on grip, sharpening and storage for your specific knives.
- If you are new to bladed tools, consider joining a local carving group or class for supervised guidance.
Treat the tools with respect, keep your attention on the cut and the hobby stays enjoyable for years.
Keep a small notebook beside your board and sketch each pattern you try, noting the wood, the blade and what you would change. After a few weeks the notes become a personal guide that no instruction sheet can match, and they make it easy to see how far your cutting has come.
Chip Carving Knife FAQ
What wood is best for chip carving?
Basswood is a common choice because it is soft and fine-grained.
Do I need a whole set?
Not at first. One or two knives will do for basic patterns. Add specialty blades only once you know which cuts you use.
How do I sharpen chip carving knives?
Use a fine stone and a strop for a polished edge.
Is chip carving hard to learn?
The basic cuts are simple. Patience and a sharp knife matter most.
What is the difference between a skew knife and a stab knife?
A skew knife has an angled blade and is used for the slanting cuts that form the walls of a chip. A stab knife is held more upright and is pushed into the wood for short walls and corners. Many beginner knives can do both jobs.
Can I use a regular whittling knife for chip carving?
You can try, but a thick whittling blade often wedges in narrow cuts and crushes fibers. A slim, thin blade with a fine edge gives cleaner walls. A general knife works better for roughing out and cleanup.
How often should I strop my knife?
A few passes on a loaded strop every thirty minutes or so keeps the edge keen during a session. If cuts start to look fuzzy or require more pressure, strop again before continuing.
Should I wear a glove when chip carving?
Many carvers wear a cut-resistant glove on the hand that holds the board, because that hand is the one most likely to be near the blade. It does not replace safe technique, so keep both hands out of the cutting path.
Why does my wood tear instead of cutting cleanly?
Common causes are a dull edge, cutting against the grain or using a wood with uneven hard and soft bands. Sharpen and strop the blade, try rotating the board, and practice on basswood.
Do I need a special bench or holder?
Not necessarily. A non-slip mat or a bench hook that keeps the board from sliding is helpful, and it frees both hands for control. Good light and a comfortable seat matter as much.
How do I draw patterns on the board?
Use a sharp pencil and a ruler, and start with simple grids of triangles and squares. Light lines are easier to remove later, and you can sand them away when the carving is finished.
Are folding carving tools suitable for chip carving?
A folding tool is convenient for travel, but its blades are usually made for general whittling. For clean chip carving cuts a dedicated fixed-blade chip knife is usually the better tool.
The Short Version
For a starter set, the BeaverCraft. For a traditional tool, the Two Cherries. For fine edges, the Pfeil. For a classic single knife, the Kirschen. For a general carving companion, the Morakniv 106. For portability, the Flexcut Carvin’ Jack.